About This Course
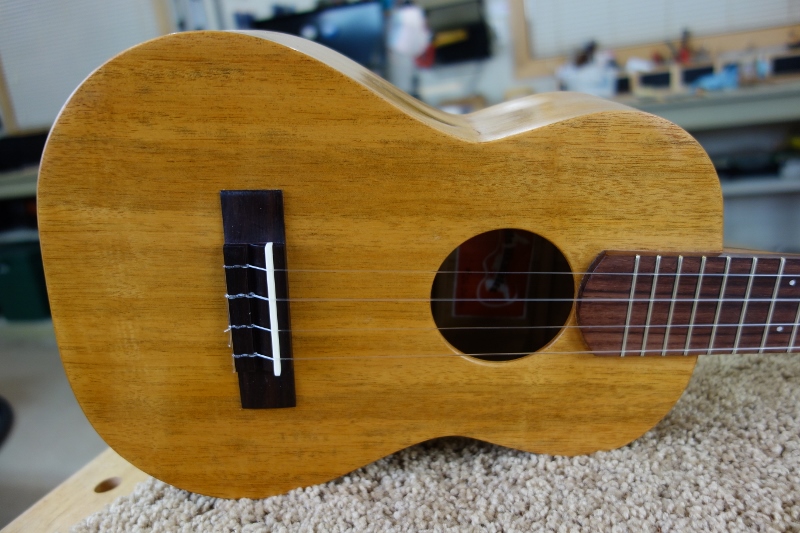
Welcome to the Robert O'Brien Online Ukulele Building Course. In this course Robert invites Canadian luthier, Heidi Litke of Red Sands Ukuleles, to show how she builds a tenor ukulele in her shop in beautiful Prince Edward Island, Canada. The course is divided into 12 chapters, each containing easy to follow lessons filmed in high definition video. You start with a box of lumber and progress to a finished high quality instrument. You will do it all: thickness and brace the top and back, thickness and bend the sides, make and carve the neck, slot and thickness the fretboard, install frets, learn how to apply a French polished shellac finish etc. Emphasis is on the use of hand tools. The course also includes a set of Heidi’s tenor ukulele plans as well as plans and instructions for making a plate joining jig and a fret slotting jig. Heidi has other ukulele size plans available at Luthiers Mercantile International (www.lmii.com).
In addition to the detailed step by step instructions on how to build a tenor ukulele, the course also includes an interview with Heidi on the history of the ukulele as well as interviews with world renowned ukulele players James Hill and Chalmers Doane. As if that were not enough, we even visit wood dealers to show how wood is processed and torrefied.
The ukulele is a fun instrument and has become quite popular over the years. Learn how to make yours! You will have bragging rights as well as the “know how” to build high quality ukuleles on your own in your own shop.
Please read the FAQ page before beginning. To begin just register/login and purchase the video lessons. Happy Building!
I’ve started my ukulele. I’ve been woodworking for years. Made lots of furniture. Making an instrument is taking wood working to another level. Great learning exercise. Carl
Feedback
×I purchased Heidi's course for my first ever build which was a concert ukulele. The course example is a tenor uke but all the principles are the same as far as I can tell. I found the course to be an excellent guide to the planning, preparing, building, and finishing of an instrument. I was very happy with how my instrument turned out for a first effort. Ted
Thanks for the great uke course with Heidi. That was a great Winter project and I'm pleased as punch with my uke. Tedd
Thanks to you both for an outstanding course on building a tenor ukulele. Your instructions were wonderfully produced, clear, concise, organized and broken up into doable segments. I took it one step at a time, took notes, listened carefully, then went straight to the bench and gave it my best shot.... to your credit, another first build makes it to the finish line. I'm pleased as punch with my uke. Thanks again. Ted
Thanks to you both for an outstanding course on building a tenor ukulele. Your instructions were wonderfully produced, clear, concise, organized and broken up into doable segments. I took it one step at a time, took notes, listened carefully, then went straight to the bench and gave it my best shot.... to your credit, another first build makes it to the finish line. I'm pleased as punch with my uke. Hope you fine folks are too! Thanks again. Tedd
I wanted to drop you a note and let you know how much I enjoy the ukulele course with Heidi Litke. The box is closed and as Heidi says "it's time for a victory dance ". It has a spruce top and walnut back and sides. Maybe a bit unusual for a ukulele but too late now. Anyway I hope you can let Heidi know that her course is excellent. Thank you Joe
Robbie, both of your uke courses with Jay and Heidi have come in handy through several of my builds. Tony
I hope it is apparent that I like this video a lot. John Calkin - Review from American Lutherie Magazine
Huge thanks to Heidi Litke and Robbie for the ukulele video course -- if y'all hadn't made it seem so darn approachable I'm not sure I ever would have given it a try! Ryan
I’ve been going through the Uke building vids. Nicely done, lots of info I can apply to my guitar making. Thanks for a great service. Eric
I hope it is apparent that I like this video set a lot. Review for American Lutherie magazine. John Calkin
I’m a relatively new builder, 2 guitars & 1 ukulele completed and I’m enjoying your course on ukulele building. I’m hoping it will add some details to my build skill set. Mark
I’ve started my ukulele. I’ve been woodworking for years. Made lots of furniture. Making an instrument is taking wood working to another level. Great learning exercise. Carl
Kudos to you and Heidi for the Ukulele course. It made all the difference. It is one thing buying a set of plans and another to have someone go over them in detail with an explanation. Stuart
I recently purchased the ukulele construction video course. I’ve previewed the first three chapters and so far I am very happy with the quality of both the video and the instruction provided by Heidi and yourself. I have received my kit from LMI, made some templates, and am currently getting together the various tools and jigs—very excited to get started! Kevin
This is probably a good time to thank Heidi and Robbie for the excellent Uke course. This is the sixth Uke I have built since buying the course and I am enjoying the new challenge. I have sold 3 of them already and the other two went to my nieces for Christmas. Thanks Heidi! Matt


